Farmhouse Vintage Trunk Makeover & How to Fix Warped Wood
/Once again it's Themed Furniture Makeover Day and today we're talking Farmhouse style. If you're a fan of Fixer Upper (and that's pretty much everyone, right), there will be lots of eye candy for you.
Last month's chocolate makeover was my IKEA Rast Hack of a high-end Restoration Hardware nightstand. I case you missed it, you can check it out here.

Several months ago, my dad found this poor abandoned trunk curbside and carried it home in a Red Rider wagon.
My mom thought it was the ugliest thing she'd ever seen but my dad insisted I could work a little furniture CPR magic and restore it to its former glory.

Not only was it filthy, but clearly had been left outside as several wasps had taken residence.

The toll of being left outdoors was evident in the dried and weathered shell.

Using my orbital sander with 80# sandpaper, I easily removed the remaining finish. This might have been the fastest sanding job ever since the outside elements had already done most of the work for me! Once the original finish was gone, I used fine grit sandpaper (120#) to ensure a smooth surface for staining.

The wood was extremely dry, so I applied a coat of boiled linseed oil to penetrate and hydrate the raw wood before staining.

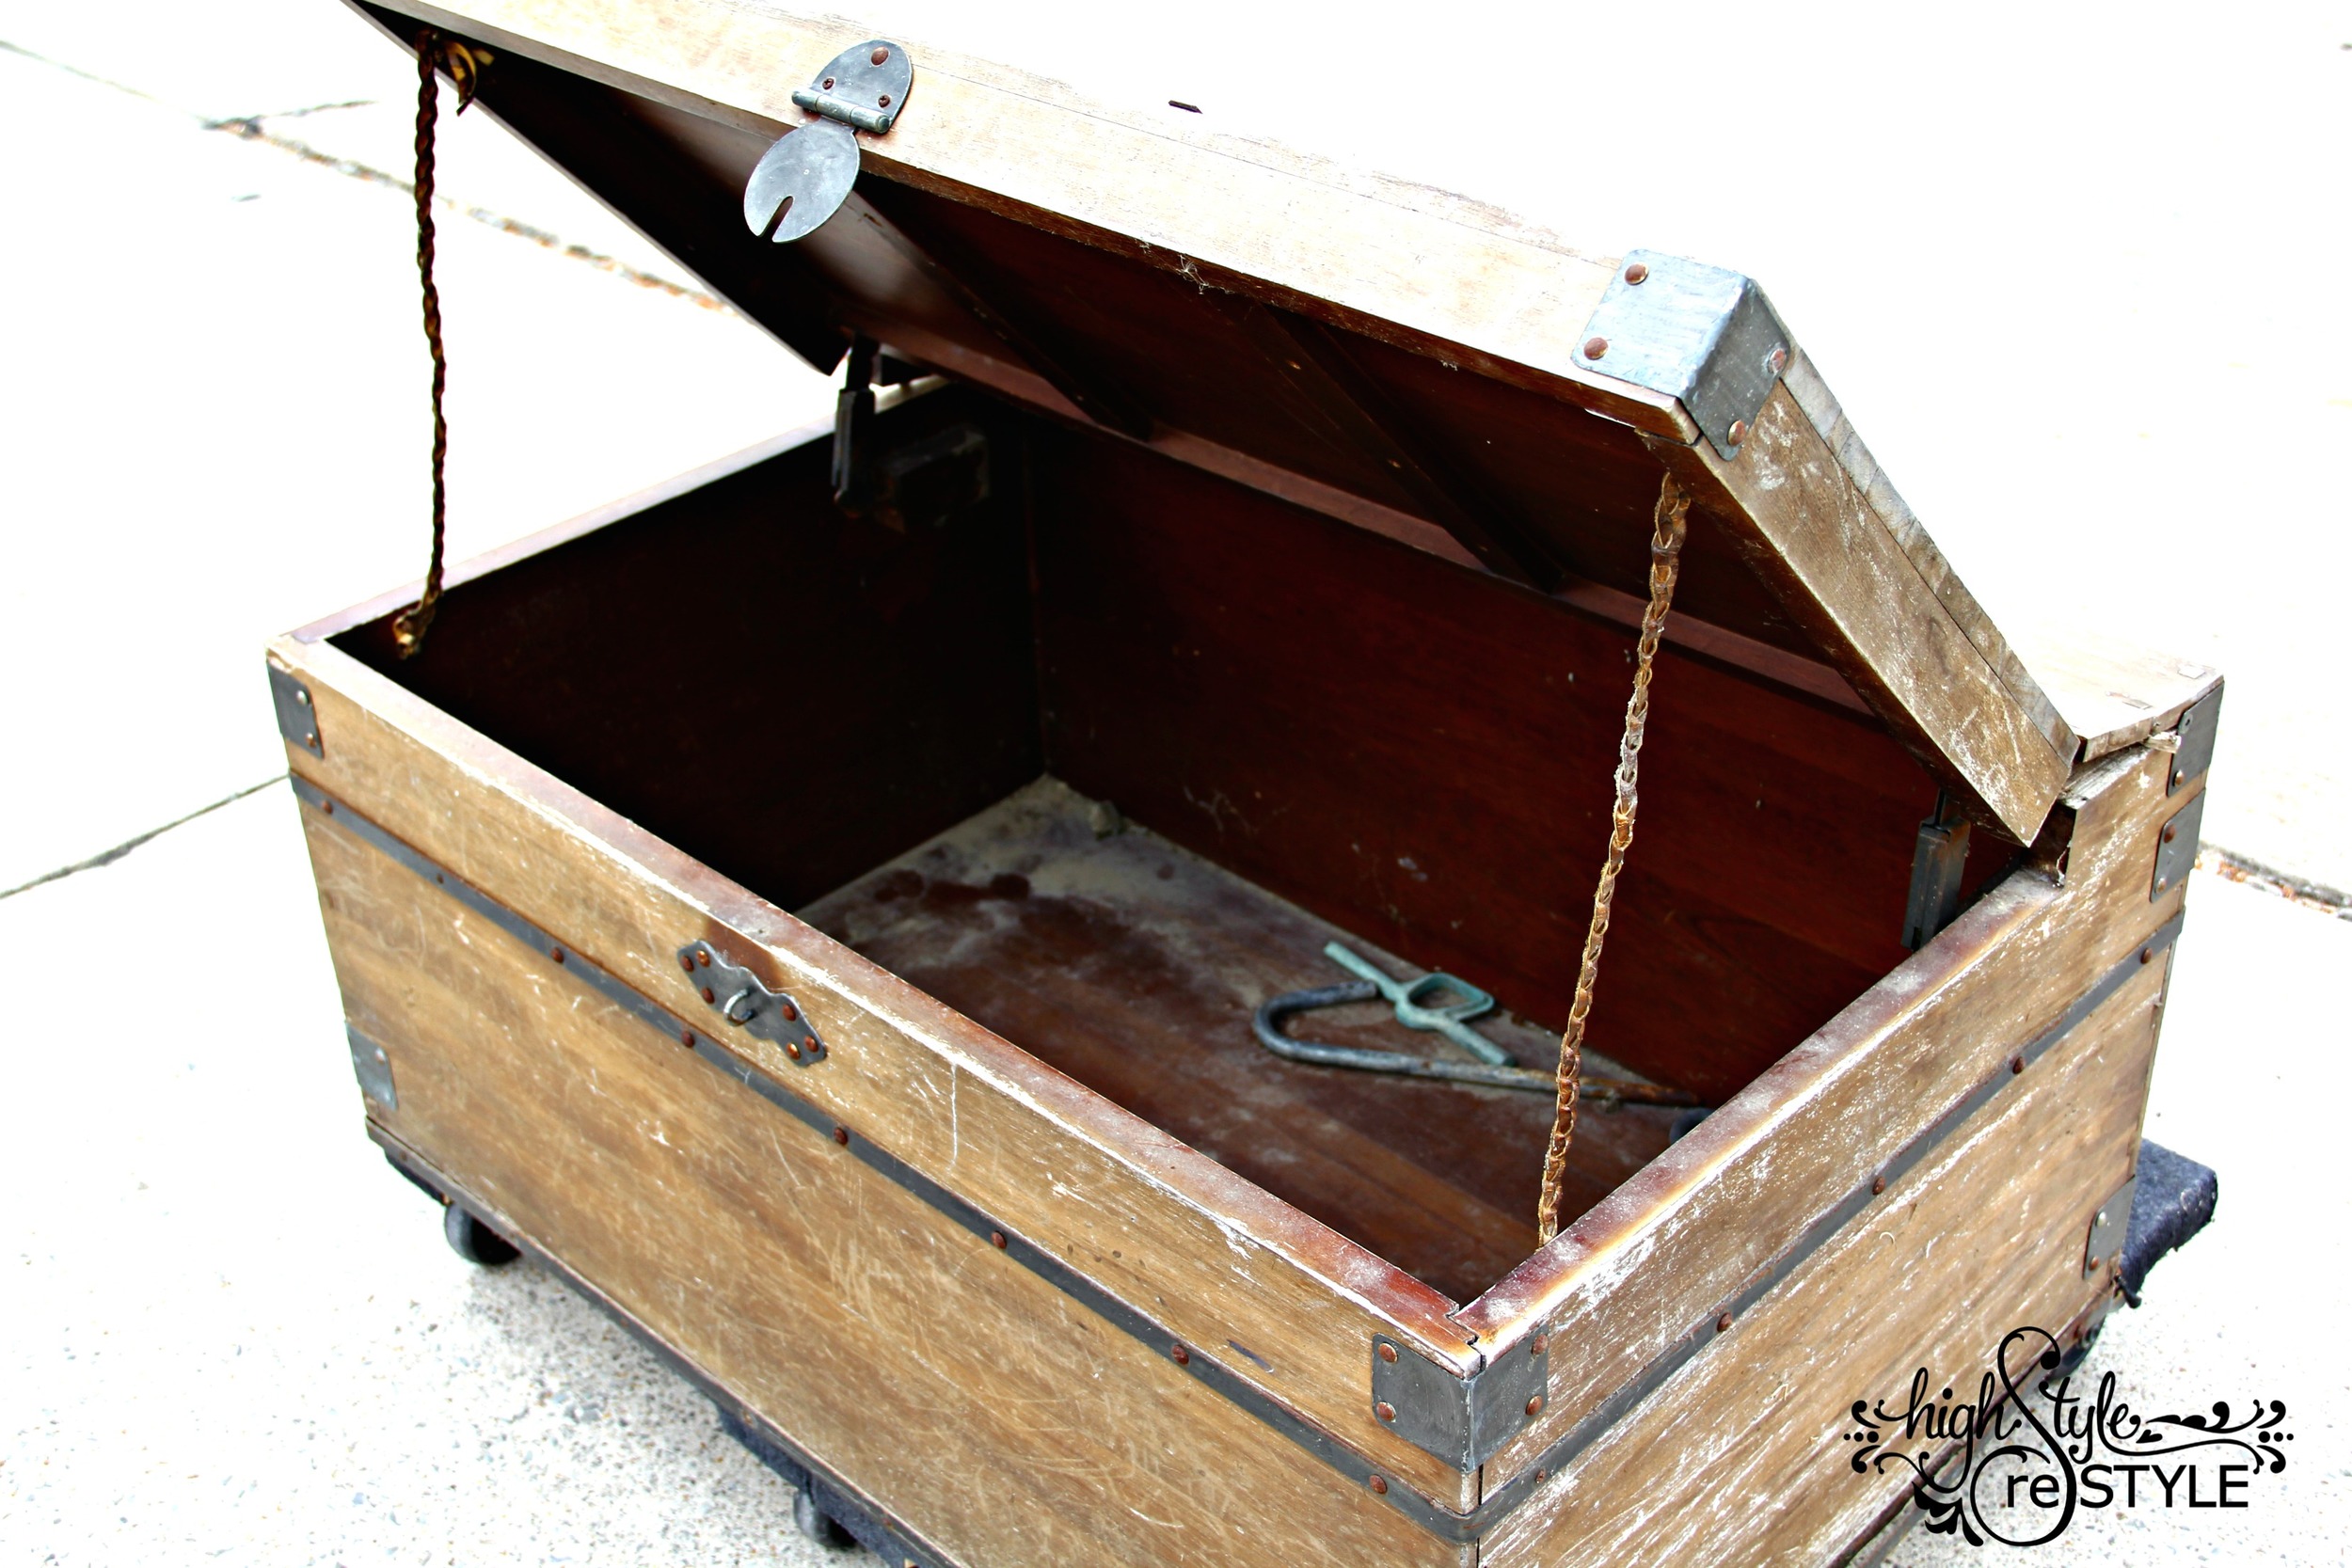
Sometimes, problems arise in the midst of a makeover and this was one of those times. When I got the trunk, the lid wouldn't close and I figured it just needed to be clamped and either glued or nailed down. As a creative mind, I can't be required to think about such details.
I was just getting to the staining part when Triple Threat informed me this section of the top was actually warped from being left outside. Trying to force it closed by clamping and gluing would only split the wood and damage it more.

Not only was this an unexpected problem, neither of us had experienced it before. Our option to repair the damage, according to Triple Threat, was for him to cut off the warped wood by hand and build a new piece. The only problem with that solution was our deadline to finish and the clock was ticking!

After researching why wood warps, I realized if I could rehydrate the top perhaps I could get it to bend back in place. It was worth a try and my idea required three things I already had on hand - an iron, spray bottle and a clamp.
First, I spread a small towel over the warped section and completely dampened it with water using a spray bottle. Then I lightly attached a large clamp to the warped section. After heating the iron to the hottest level, I alternately ironed over the damped towel and sprayed it with more water to create steam. Each time I completed the steaming process, which was several times throughout the day, the wood became more pliable and I was able to tighten the clamp.

After steaming the warped section 6-8 times, the wood moved enough I was able to clamp it tightly down. Just to make sure the wood was nice and fully hydrated, I repeated the steaming process a few more times with the clamp in place.
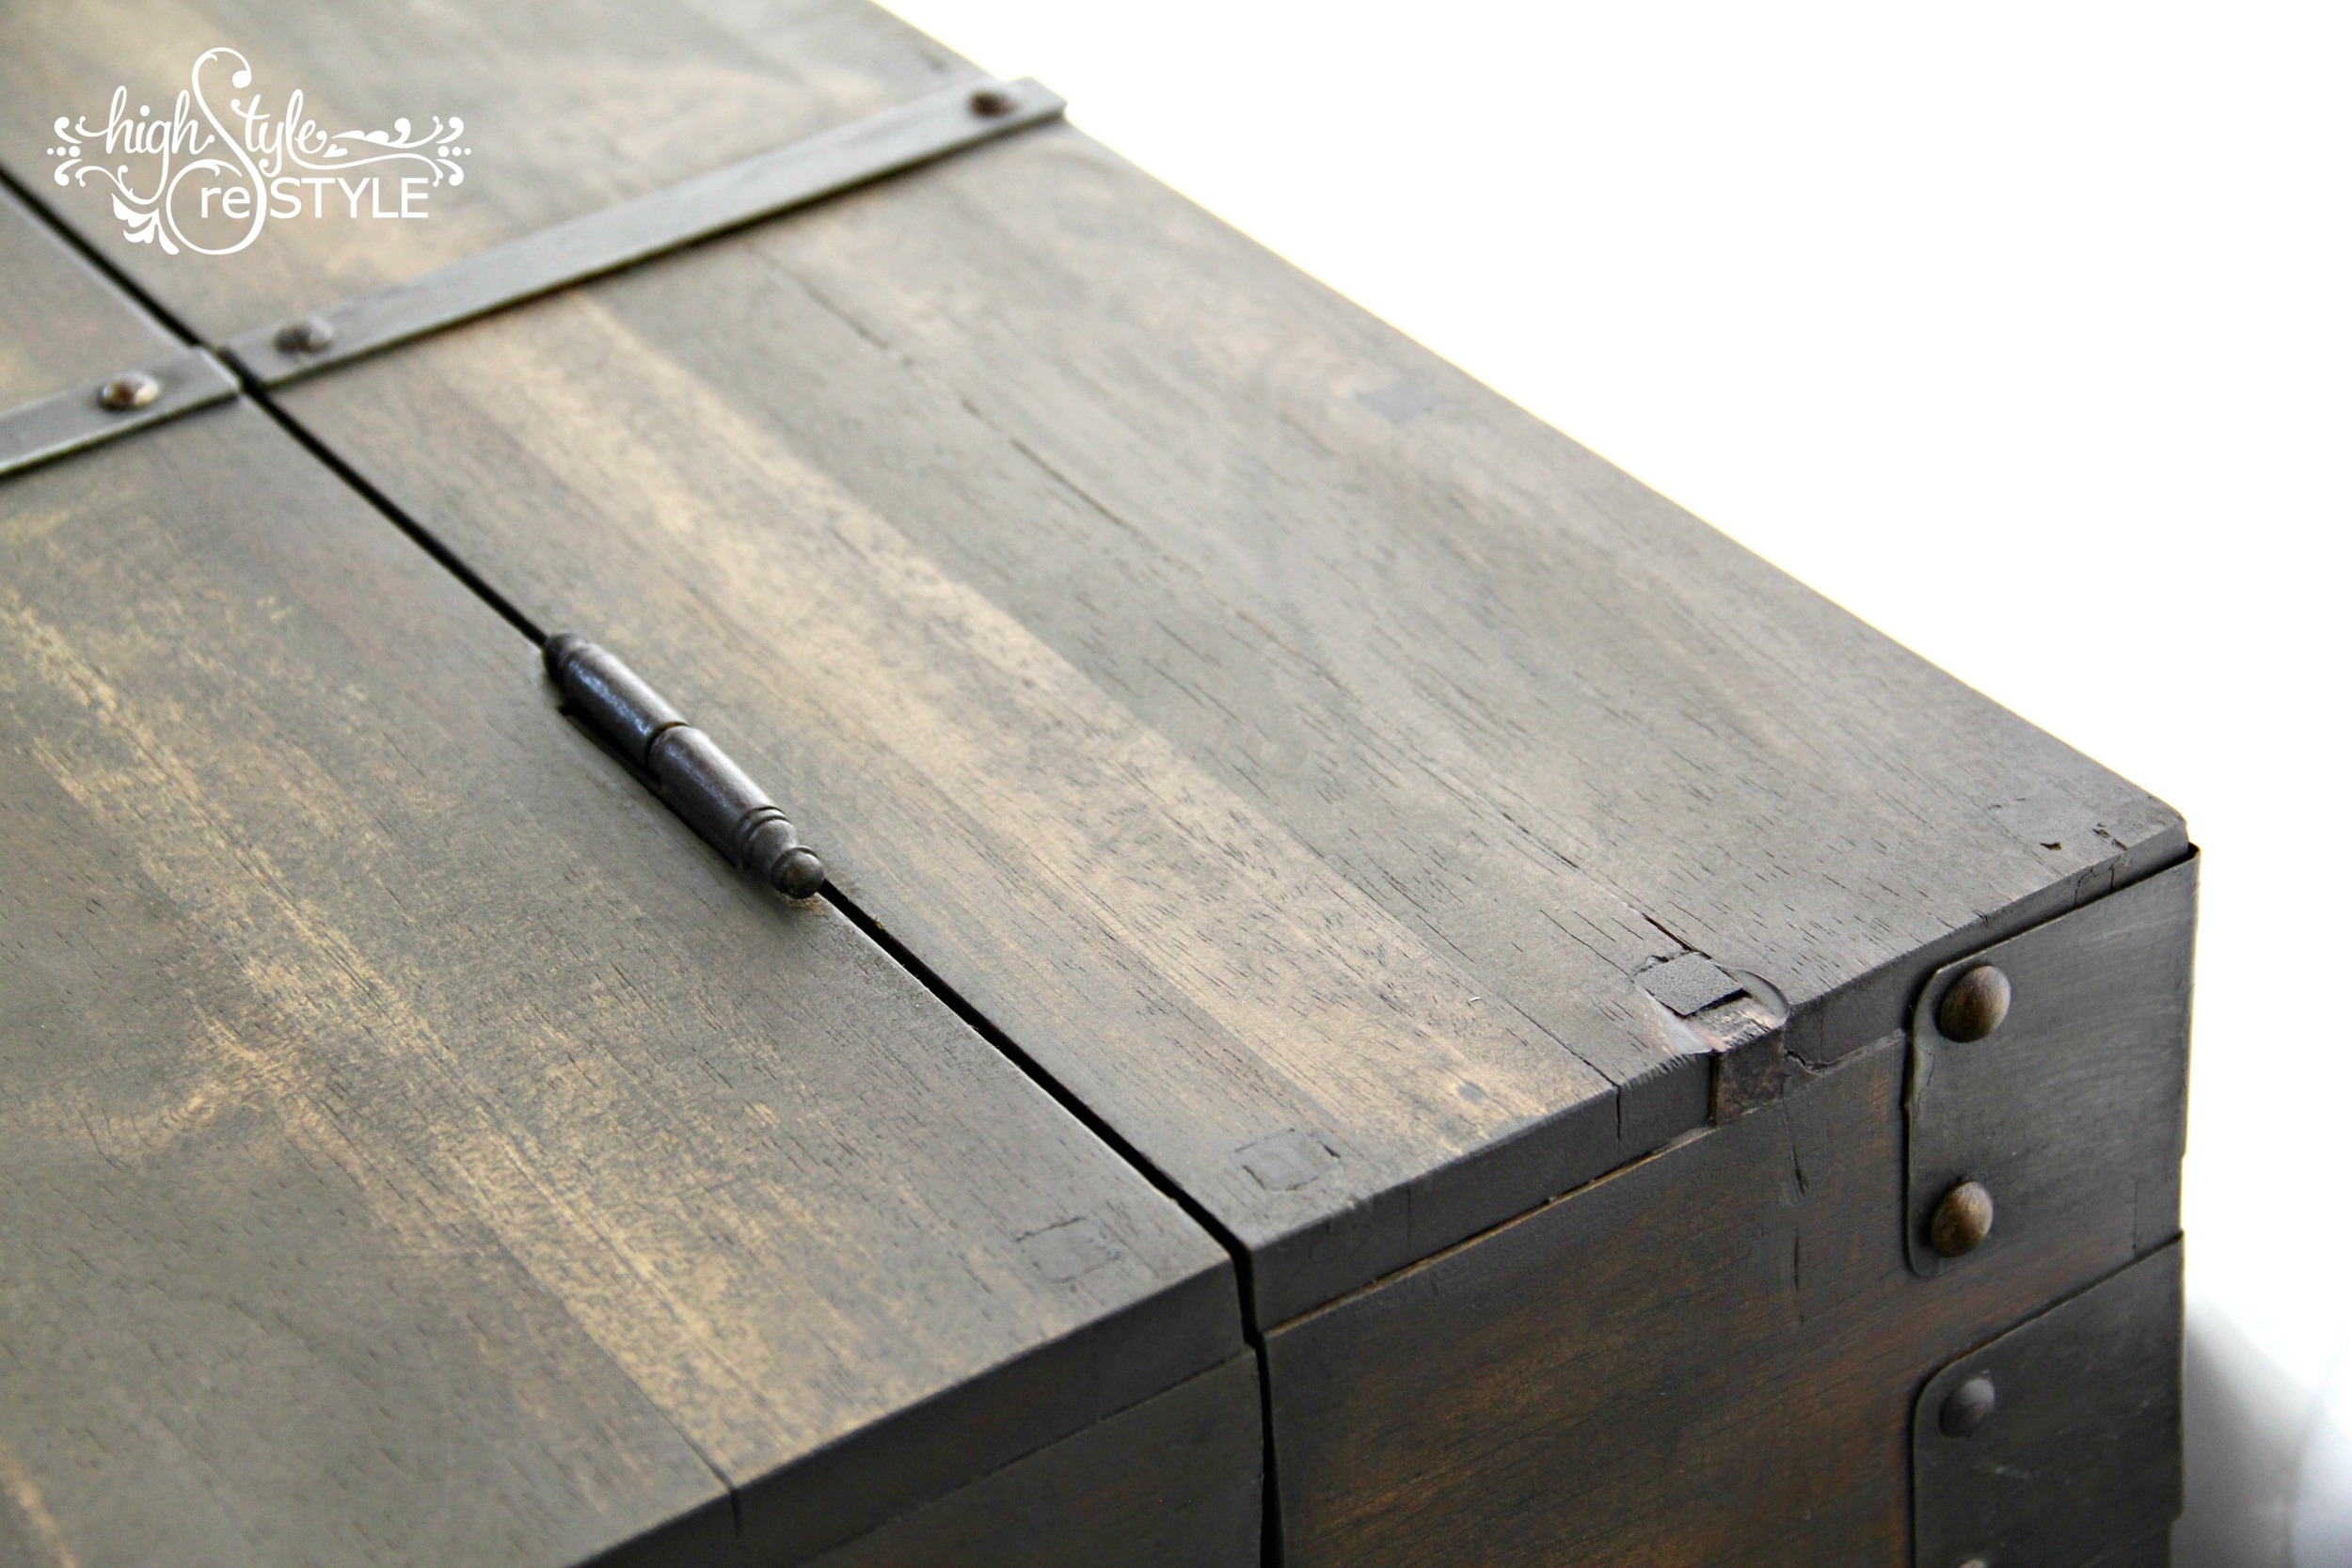
When Triple Threat came home from work that day he was floored that I fixed the warped wood using a few simple household items. The only minor issue was one of the boards cracked and separated and needed to be re-glued. I now had a lid that closed and could move on the the fun part of staining.

One of my favorite finishing techniques is my version of the Restoration Hardware look. This is one of my signature styles with paint and until now had never attempted it with stain.
Using my new favorite color, Varathane Briarsmoke, I applied one coat to the entire body of the trunk. Without waiting for it to dry, I lightly brushed on a walnut stain randomly and quickly wiped off the excess. The result is a beautiful stained version of my painted Restoration Hardware finish. I think I'm onto something here.
To seal and protect my restored trunk, I chose General Finishes Satin Finishing Wax. It's an easy, wipe on finish and gives a hand-rubbed luster.

After seeing the natural beauty of the inside of the trunk after a thorough cleaning with TSP (and rinsed afterward with water), I decided to leave as-is.

The traditional tone of the inside nicely compliments the farmhouse finish outside, don't you think?

Check out that nice, flat and CLOSED lid! As frustrating as problems can be during refinishing projects they are always blessings in disguise for me. I've learned some of my best techniques and tips trying to figure out solutions to problems! That's how I discovered my drybrushing technique and how to get the perfect black stain.
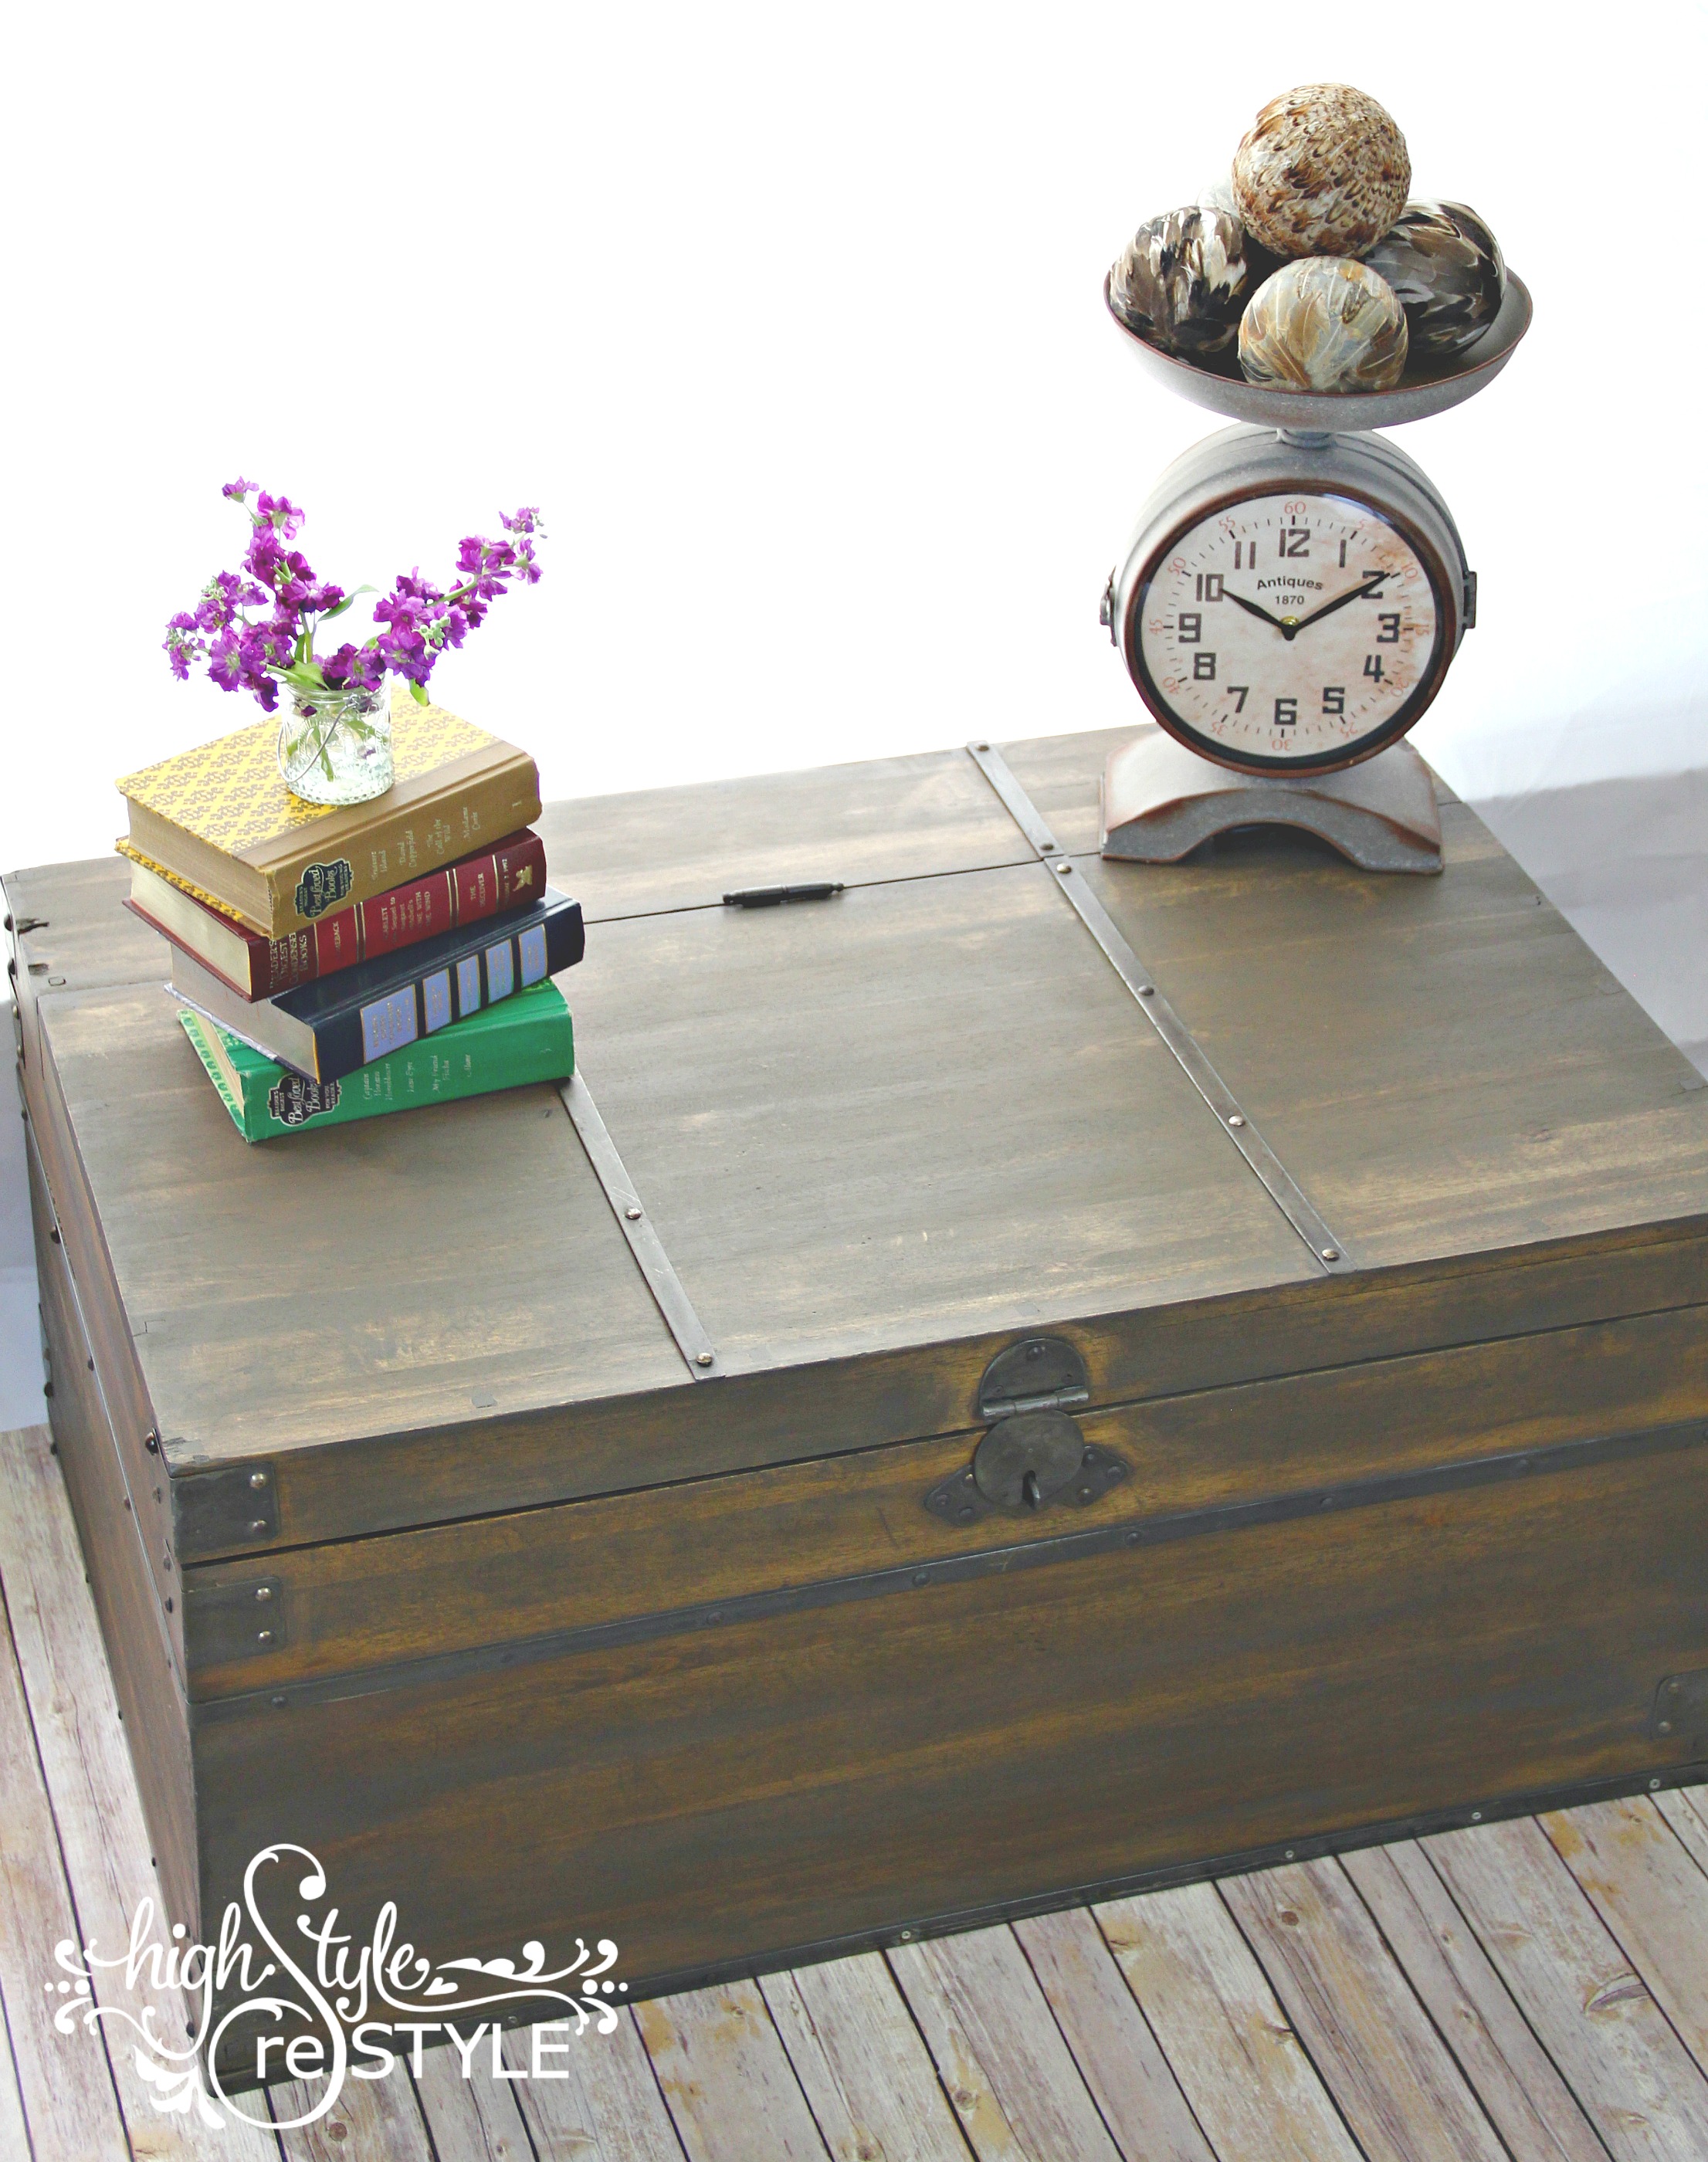
I'm positive my mom will agree this farmhouse trunk is the furthest thing from ugly now. Do you think she will even recognize it?

Even the hardware cleaned up so nicely I was able to keep the original set intact. It's nice to be able to preserve the integrity of the original piece.

I sure hope the tips and techniques I learned to repair the warped wood top on this farmhouse trunk will help inspire you to take a second look at those castaway pieces. I am sure thankful my dad saved this piece from the dump and gave me the opportunity to add new skills to my 'toolbelt.'
While you're here getting your farmhouse style fix, check out all the other inspiring projects my friends have in store for you...