Why Refinished Furniture is Worth Every Penny
/Salvaging, rescuing and giving unwanted furniture much-needed CPR has been part of my life for the last five years. I've watched this little niche of refinishing and painting furniture grow a lot over that time.
There are tons of ads on Craigslist and Facebook sites with painted and refinished furniture for sale. Many times, these pieces that someone has spent hours and hours of time repairing, sanding, staining, painting and top coating are WAY UNDER PRICED!
It really makes me crazy when someone asks them to consider a significant amount LESS than the already low price. And it's happened to me, so I know exactly how that feels.
When fellow furniture rehabbers set rock bottom prices it devalues how much work truly goes into making the piece new and beautiful again.

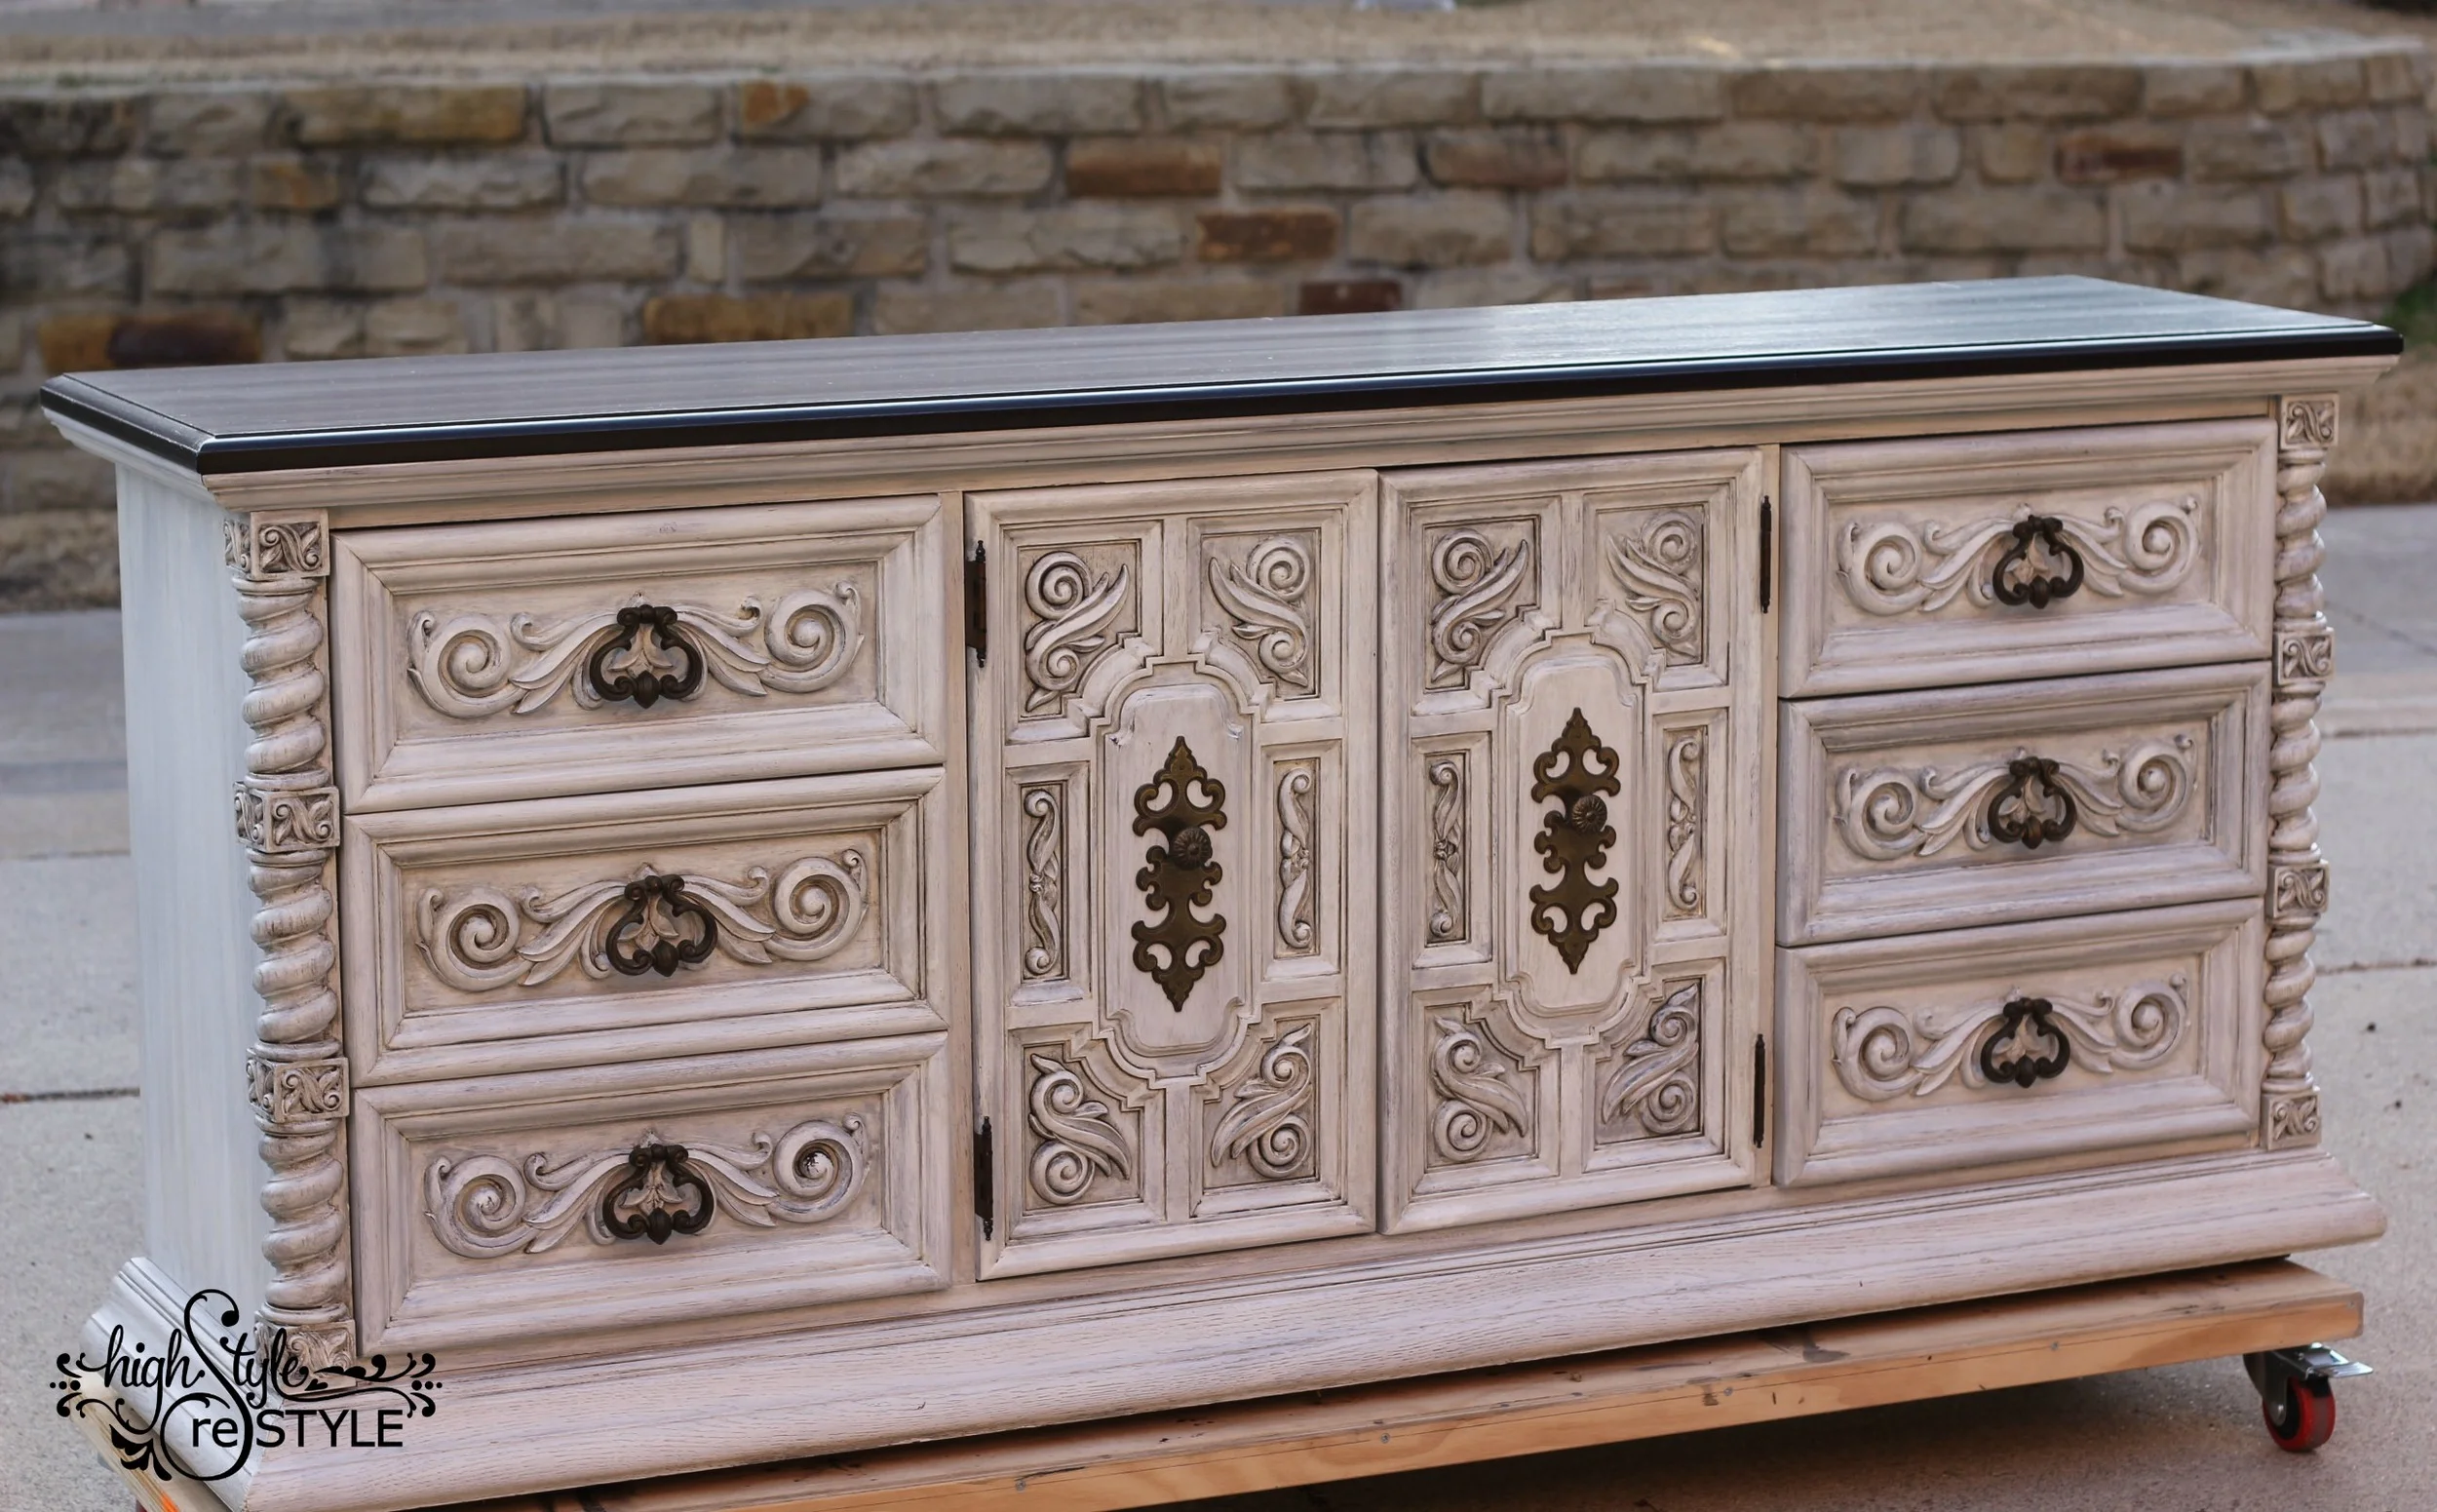
Most of my refinishing work is custom pieces that fabulous clients bring me. Other times, my dad, the finder of curbside castaways, alerts me to pieces that would otherwise end up in the dump. Like this curbside china cabinet, side table turned Pottery Barn knockoff and oak pedestal table.
My signature style is furniture with stained tops and painted bottoms. To date, I've saved eleven outdated oak pedestal tables from dumpster demise with that makeover. Just last week, I posted about a Restoration Hardware-inspired pedestal table. Since it didn't belong to a client, I posted it on Craigslist and a few Facebook sale sites. Within a few hours, I had multiple offers for more than $150 LESS than the list price. Ouch!
First, it made me angry but then I started thinking people must truly have no idea how much work goes in to refinishing furniture. Not to mention they are getting a quality piece of furniture that most likely can't even be bought in a store these days. And in the case of the Restoration Hardware-inspired table, the top was 3" of solid oak! The wood alone would cost a small fortune.
So, I'm here to help and break down what is behind the pricing of refinished furniture.
The next time you consider refinishing your own furniture, paying someone else to do it or buying a refinished piece, here are the reasons it will be worth every.single.penny.
MOBILITY
Once you're ready to begin refinishing, the piece should be moved onto a furniture dolly so it can be mobile while you're working. If you don't have one, you can either buy it or build it. I'm lucky enough to have a Triple Threat (Handy, Handsome, Helpful) hubby who built me several sizes of furniture dollies. Of course, it's an investment in time or materials either way but necessary for your workshop.
Can you imagine moving around this triple dresser without a dolly?!!
SANDING
In order to sand any piece of furniture, I highly recommend owning several types of sanders because depending on the project you might need more than one. I have an orbital, detail and belt sander and use them all!

TRIPLE THREAT IN ACTION WITH THE ORBITAL SANDER
You'll also need lots and lots of sand paper in various grits. And sandpaper is expensive and I go through more than my fair share of it.
- 80# for sanding and stripping original finishes
- 120# for smoothing surfaces
- 220# for finishing surfaces smoothly
Add sanding blocks and sponges to the list to get in areas a power sander can't fit. The lip of the Restoration Hardware table required both sanding blocks and sponges because of the rounded surface area. Did I mention elbow grease because sanding by hand is hard work and time consuming!
Triple Threat bought a JET filtration system several years ago to keep dust particles from settling in the finish of our projects. Let me emphasize this was a HUGE investment for our workshop but having a dust-free environment when applying topcoats makes a difference in the quality of the finish.
CLEANING
After sanding, each piece needs to be thoroughly cleaned to remove dust and any grime or unseen residue. I use a spray bottle with a 50/50 blend of denatured alcohol and water and apply with a lint free cloth.
STAINING
Once you choose the type of stain you want to use (gel or oil-based), you'll need sponge brushes to apply it and either a cloth or sponge to remove the excess. Don't forget disposable gloves to wear while you're staining. I buy these in large quantities from Harbor Freight. And certain woods require a pre-conditioner so I keep that on hand too.

SEALING/TOP COAT
The protective top coat is one of the most important because it protects your finish and all the hard work you've put in to restoring the piece. You can choose between an oil based finish (polyurethane/urethane) or water based polycrylic. No matter which you choose, you'll need a high quality brush to apply unless you want brush strokes. I always apply three coats to high traffic furniture such as table tops. Between each coat of poly, I use super fine grit sandpaper to ensure the finish is glassy-smooth.
Brushes need to be cleaned between each use. That means if you're using an oil-based top coat, you'll need to clean with lacquer thinner or mineral spirits each time or you'll be buying new brushes every project!
SAFETY EQUIPMENT
Using proper safety precautions around tools and chemicals is a huge deal and essential for your health. When I see videos or pictures of DIYers applying stain and top coats without ANY form of safety equipment, I want to jump on my soap box of the importance of protecting your lungs, eyes and ears. Safety first y'all!
Every single time I am working with solvents of any kind I wear gloves, a respirator and safety glasses. And when sanding, I always wear hearing protection. I'm pretty sure I scare my neighbors when they see me working in all my safety gear!
In case you're not keeping track, here is a list of all the supplies and tools you need to properly refinish furniture:
- Furniture dolly
- Power sander (orbital, detail, belt)
- Sand paper in various grits
- Sanding blocks (fine and course)
- Sanding sponges
- Denatured alcohol
- Lint-free cloths
- Stain
- Sponge brushes
- Staining pads or cloths
- Pre-stain conditioner
- Disposable gloves
- Polyurethane or polycrylic
- Lacquer thinner
- Mineral Spirits
- High quality brushes for applying topcoat
- Safety glasses
- Ear protection
- Respirator
- Air filtration system (optional)
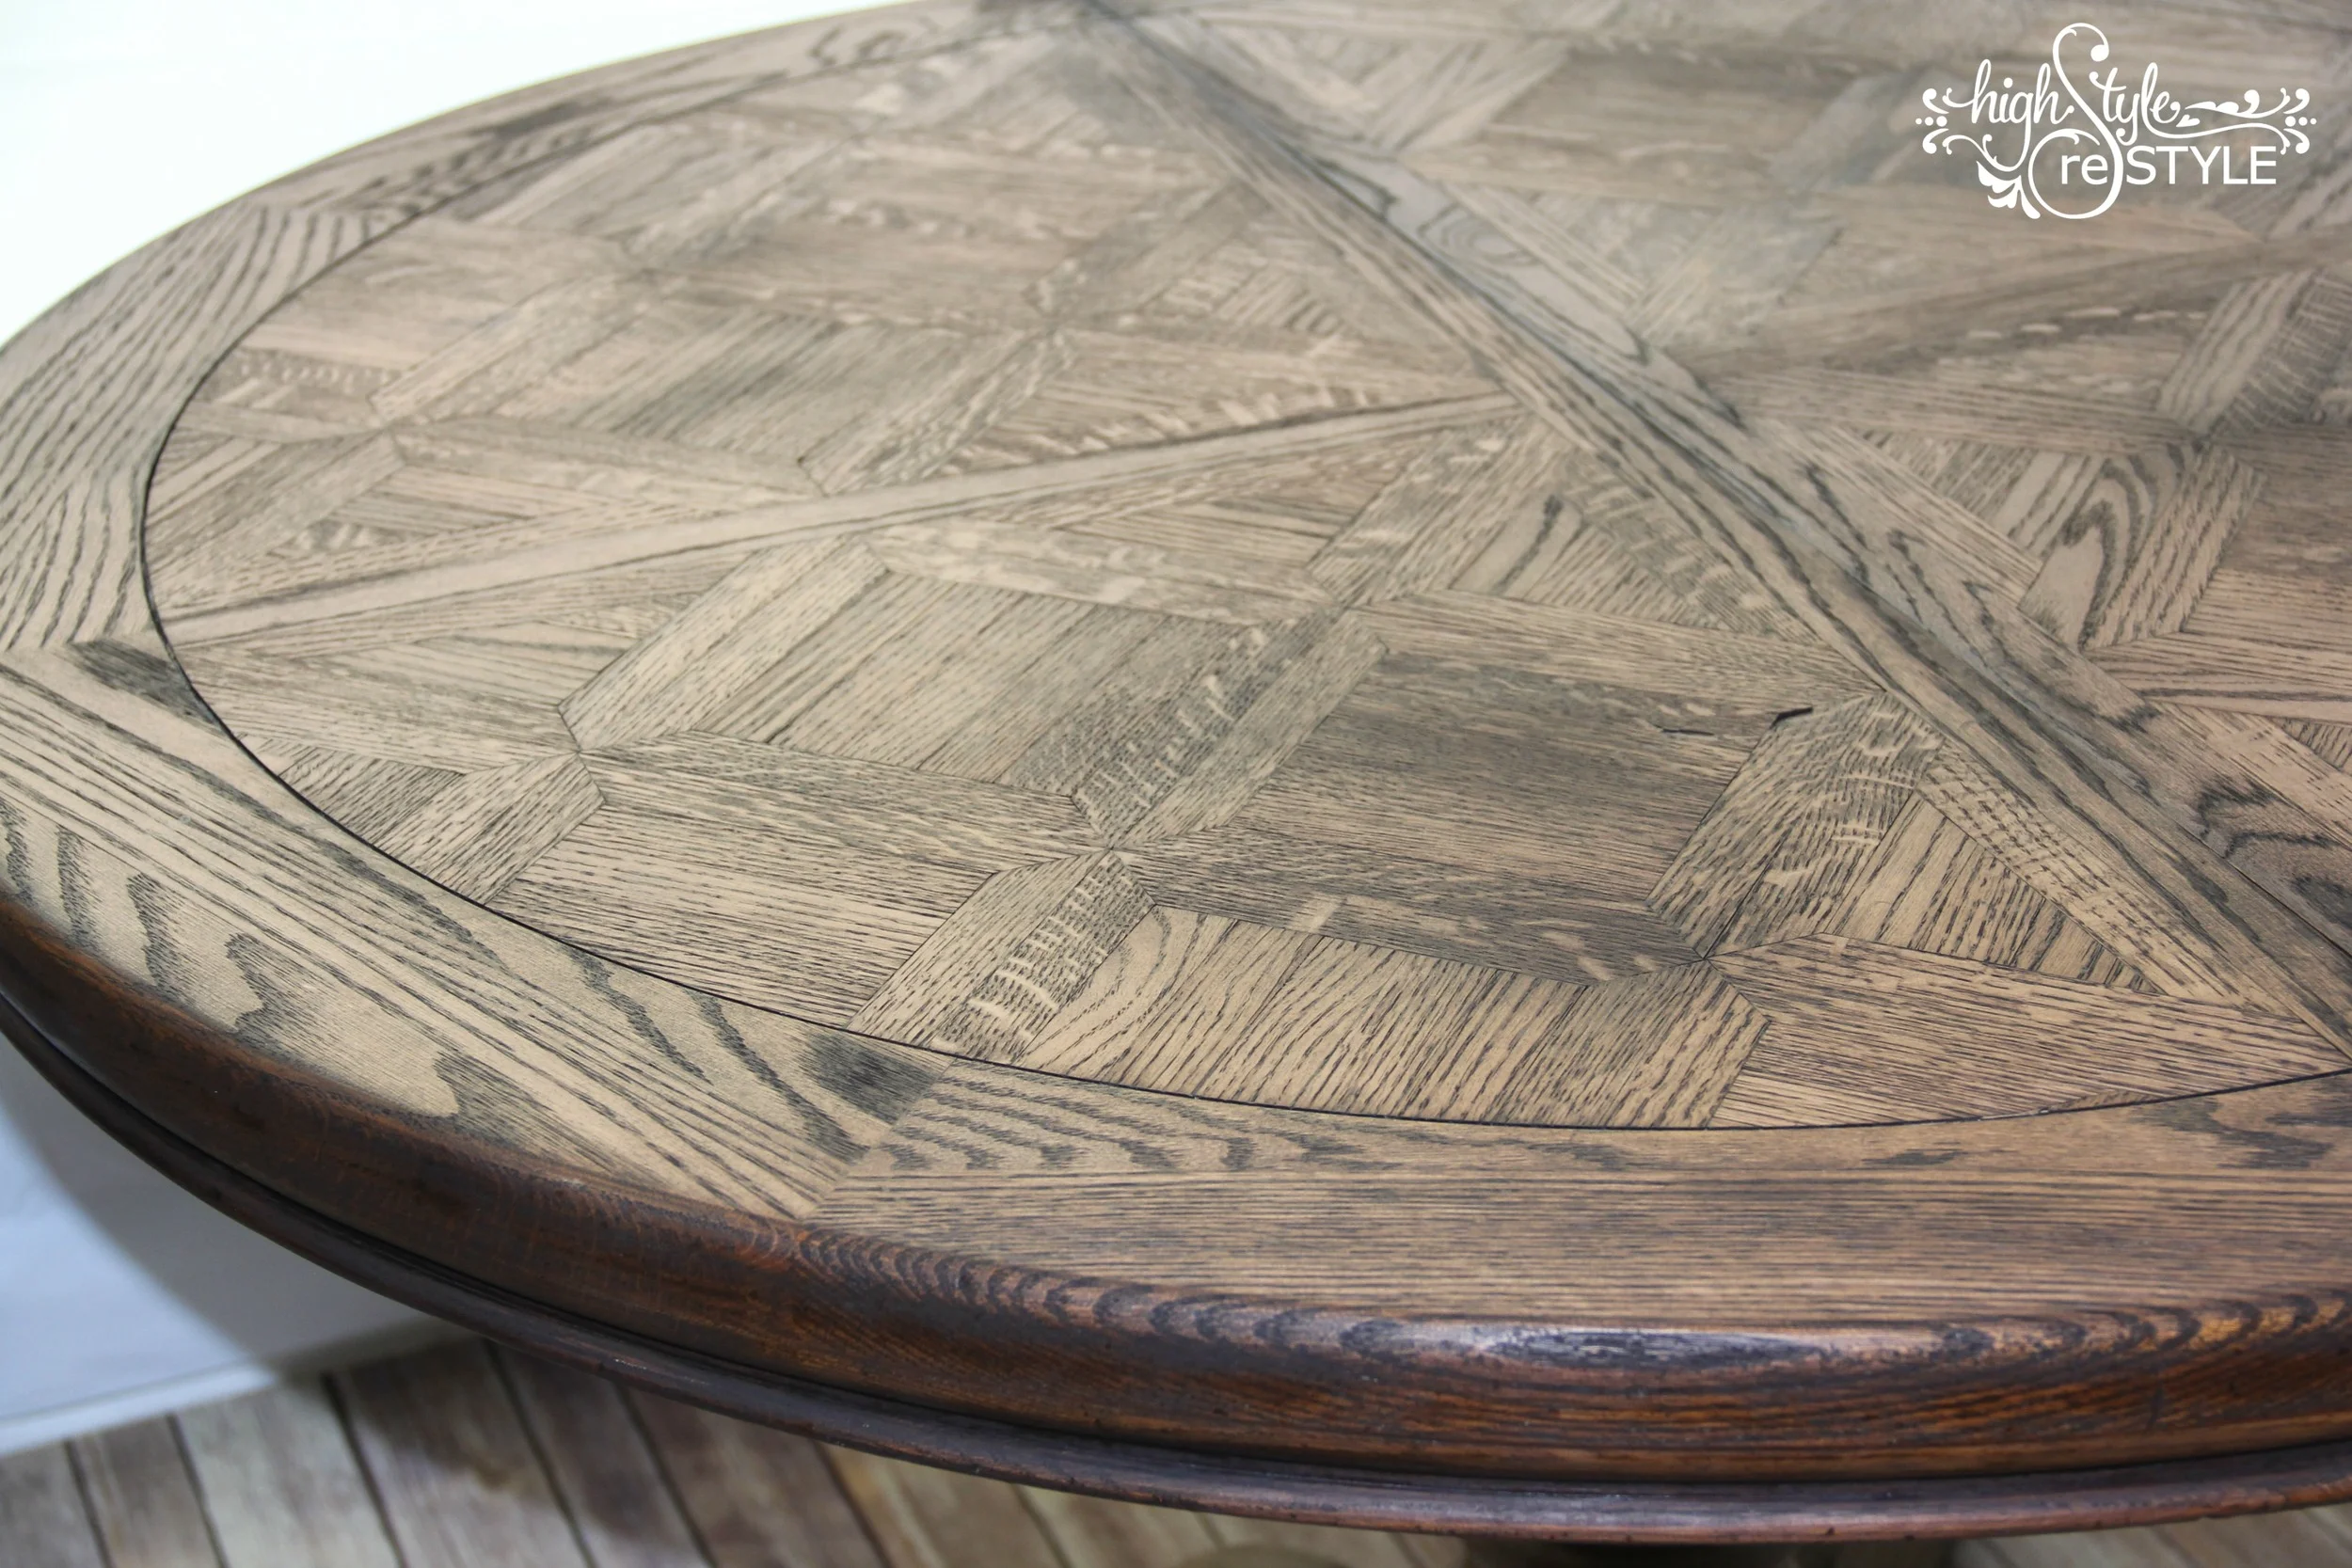
The part about refinishing furniture I think is often overlooked is the time and expertise it takes to do a high quality job. Each step of this process requires time and the proper amount of it. I spent eleven hours SANDING a table prepping it for the perfect black stain. Sometimes problems arise when staining furniture and through lots of experience you learn how to fix tricky staining issues. I've had my fair share of mishaps and issues and gained valuable expertise along the way. While staining an oak table, one section of it did not want to accept the stain no matter what I tried. In the end, I showed it who was boss with my dry brushing method. You can read how to resolve pains in your stain here.
Someone once called me the Queen of Stain and I'll happily accept that title now...I think I've earned it!
My hope is after reading every step involved with refinishing furniture, the next time you question whether the price tag or quote is too high, you'll agree it is worth every penny! Experience is valuable and I firmly believe you get what you pay for when it comes to refinished furniture.
I'm off to do what I love and finish staining the two outdated oak dining tables I'm working on! If you know someone that's considering refinishing their first piece of furniture, please share this with them before they get started. They'll thank you later, I promise. :)